
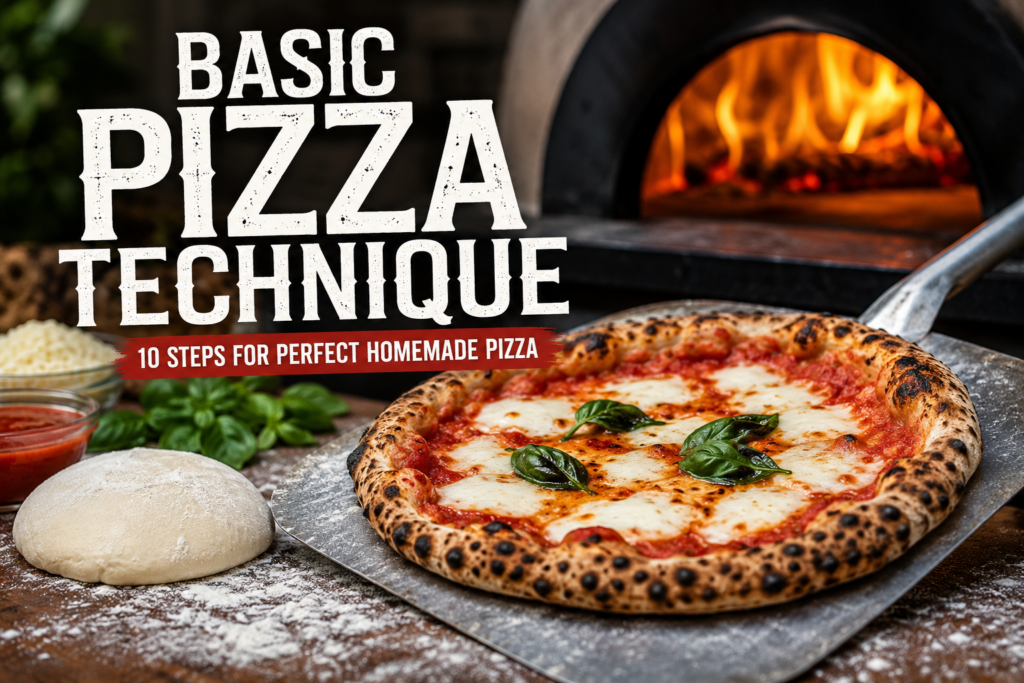
Whether you’re cooking on a pizza oven, pellet grill, charcoal grill, or inside your kitchen oven, mastering basic pizza technique will improve your results far more than buying expensive equipment.
Many people believe great pizza starts with fancy ovens or premium ingredients. While those certainly help, the biggest difference between average pizza and restaurant-quality pizza is proper technique.
In this guide, I’ll walk you through the basic pizza technique I use every time I make pizza. Once you understand these fundamentals, you’ll consistently produce pizzas with crisp crusts, evenly cooked toppings, and beautiful leopard spotting.
Why Pizza Technique Matters
A great pizza is a balance of four things:
- Proper dough preparation
- Correct stretching technique
- Balanced toppings
- Proper baking temperature
Skip any one of these steps and you’ll usually end up with soggy crust, burned cheese, or undercooked dough.
Fortunately, every one of these skills is easy to learn with a little practice.
Step 1: Start with Proper Dough
Every great pizza begins with quality dough.
Whether you’re using homemade dough or store-bought, allow the dough to come to room temperature before stretching.
Cold dough is tight and difficult to work with.
For best results:
- Remove dough from refrigerator 2–3 hours before cooking
- Keep covered so it doesn’t dry out
- Dust lightly with flour
Here’s our Dough Recipe
Step 2: Prepare Your Work Surface
One of the most overlooked parts of basic pizza technique is preparing your work area.
Lightly dust your countertop with:
- Bread flour
- 00 flour
- Semolina flour
Semolina works especially well because it acts like tiny ball bearings, allowing the pizza to slide easily onto the peel.
Avoid using excessive flour because it can burn inside your pizza oven and create bitter flavors.
Step 3: Stretch the Dough Properly
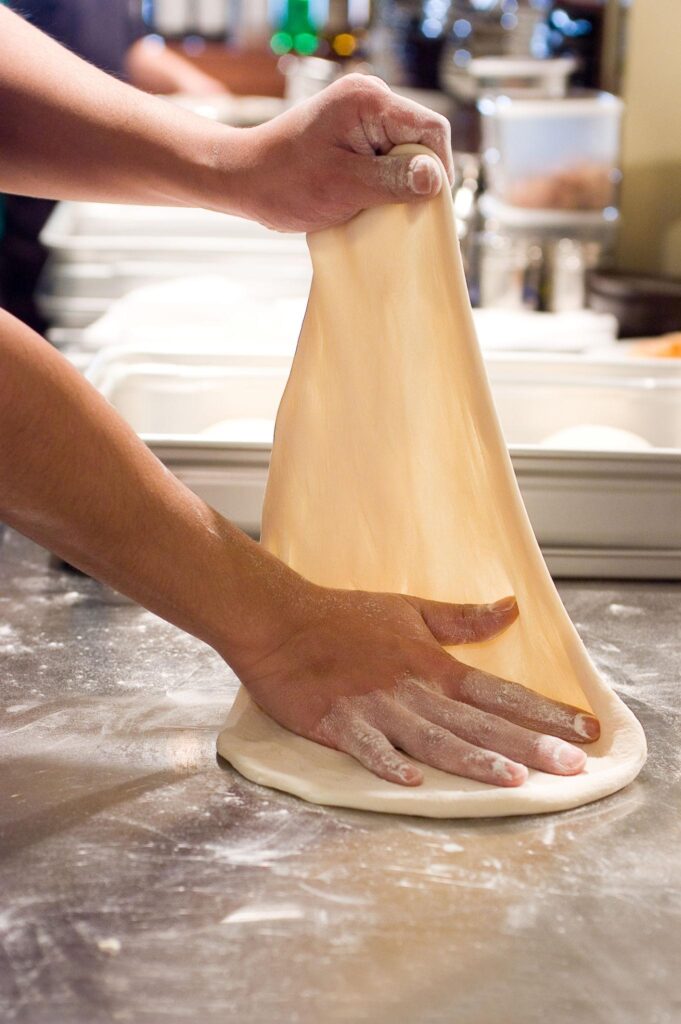
Never use a rolling pin.
Rolling pins squeeze all of the air bubbles out of the dough, creating a flat, dense crust.
Instead:
- Press the center with your fingertips.
- Leave about one inch untouched around the edge.
- Pick up the dough.
- Rotate while gently stretching.
Gravity does most of the work.
If the dough resists stretching, let it rest for 10 minutes before trying again.
Step 4: Build the Crust
The outer edge should remain thicker than the center.
That thicker ring traps expanding gases while cooking, creating the airy crust everyone loves.
Aim for:
- Thin center
- Thick outer edge
- Uniform thickness
Avoid making the middle paper-thin or you’ll develop holes.
Step 5: Don’t Overload the Pizza
One of the biggest beginner mistakes is using too many toppings.
More toppings may seem better, but they actually create:
- Soggy crust
- Longer cooking times
- Uneven baking
- Burned cheese
- Undercooked dough
Instead, think balance.
A simple pizza with fewer quality ingredients almost always cooks better than one piled high.
Step 6: Apply Sauce Evenly
Less is often more.
Spread sauce using the back of a spoon while leaving about one inch around the crust.
Too much sauce adds moisture that prevents the crust from crisping.
For most 12-inch pizzas:
- ¼ to ⅓ cup sauce
is plenty.
Step 7: Add Cheese
Even cheese distribution matters.
Rather than dumping cheese in the center, spread it evenly across the pizza.
Leave small gaps where sauce can peek through.
This helps the pizza cook more evenly while preventing heavy grease pools.
Fresh mozzarella should be patted dry before using to reduce excess moisture.
Step 8: Add Toppings
Balance is everything.
Slice vegetables thinly.
Pre-cook ingredients that release lots of moisture such as:
- Mushrooms
- Sausage
- Bacon
- Peppers
Adding raw vegetables often releases water during baking, making the crust soggy.
Step 9: Use the Pizza Peel Correctly
Before transferring the pizza, gently shake the peel.
If the pizza slides freely, you’re ready.
If it sticks:
Lift the edge and sprinkle a little more semolina underneath.
Never wait too long before launching the pizza because moisture from the sauce will eventually glue it to the peel.
Step 10: Cook at the Proper Temperature
Different cooking methods require different temperatures.
| Cooking Method | Temperature |
|---|---|
| Kitchen Oven | 500–550°F |
| Pellet Grill | 450–550°F |
| Pizza Oven | 700–900°F |
Higher temperatures create better crust texture and faster cooking.
Preheat your cooking surface completely before launching the pizza.
This is one of the most important parts of proper basic pizza technique.
Rotate During Cooking
Wood-fired and gas pizza ovens often have hotter spots.
Rotate the pizza every 20–30 seconds.
This prevents burning while creating evenly browned crust.
Kitchen ovens generally don’t require rotation.
Here’s a temperature guide for reference.
Let It Rest
Resist the temptation to cut immediately.
Allow the pizza to rest for 2–3 minutes.
This lets:
- Cheese set
- Sauce stabilize
- Steam escape
- Crust stay crisp
You’ll get cleaner slices and better texture.
Common Pizza Mistakes
Avoid these common beginner errors:
- Stretching cold dough
- Using a rolling pin
- Adding too much sauce
- Overloading toppings
- Not preheating the oven
- Launching from a sticky peel
- Cutting immediately after baking
Correcting these simple mistakes dramatically improves homemade pizza.
Final Thoughts
Learning basic pizza technique doesn’t require expensive equipment or years of experience.
Focus on quality dough, proper stretching, balanced toppings, and correct cooking temperatures. These fundamentals will produce consistently delicious pizza whether you’re cooking in a backyard pizza oven, pellet grill, charcoal grill, or conventional oven. Here’s our Wood Fired Deep Dish Pizza Technique and Recipe.
Once you master these techniques, you’ll be ready to experiment with different dough recipes, cheeses, sauces, and creative topping combinations while producing restaurant-quality pizza at home every time.
FAQ’s
Can I make great pizza without a pizza oven?
Yes. A kitchen oven, pellet grill, or charcoal grill can produce excellent pizza when properly preheated. I’d recommend a pizza stone… this will give your crust a “next level” crunch!
Just getting started and don’t know what to buy?
Check out a starter kit here.
Why shouldn’t I use a rolling pin?
A rolling pin pushes out the gas bubbles that create a light, airy crust.
What flour works best for stretching pizza dough?
Bread flour, 00 flour, or semolina are all excellent choices, with semolina being especially useful on the peel to prevent sticking.
How hot should my oven be for homemade pizza?
Use the highest safe temperature your oven allows, typically 500–550°F, while dedicated pizza ovens perform best between 700–900°F.
🔥 Shop BSL Favorites on Amazon!
📄 Get Free BBQ Recipes, Guides & Charts
👉Check out the list of BBQ Gear I recommend and use
🔥 Follow Backyard Smoke Lab for more BBQ tips, recipes, and reviews
📺 YouTube: https://www.youtube.com/@backyardsmokelab
📸 Instagram: https://www.instagram.com/backyardsmokelab
🎵 TikTok: https://www.tiktok.com/@backyardsmoklab
🌐 Website: https://backyardsmokelab.com